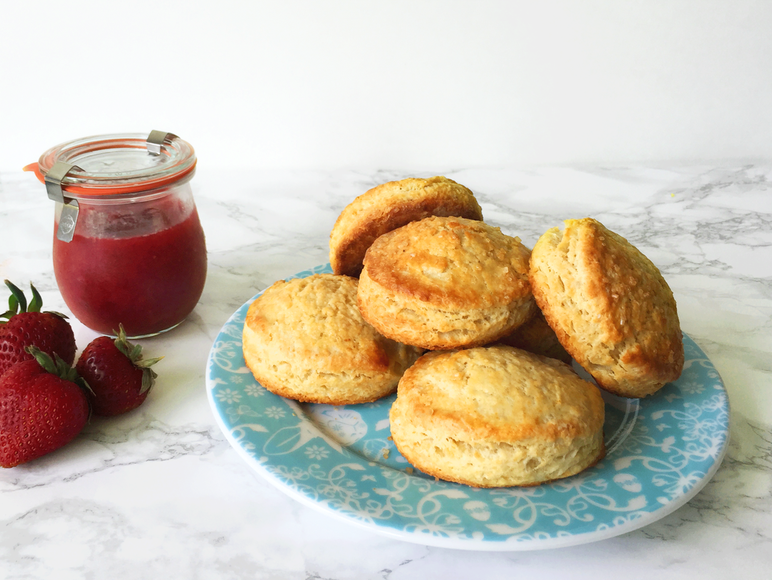
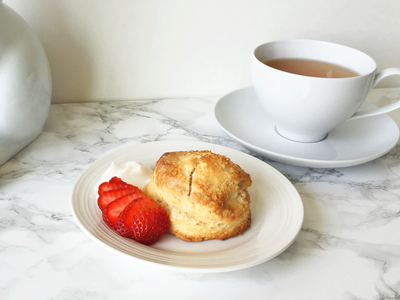
Tea Scones With Rhubarb Jam
4.5.16
Recently I took a quick day trip to the RoozenGaarde’s display garden and tulip farm. Since the weather was starting to transition from short dreary days to being bright and sunny long past 5pm. Despite the muddy fields and masses of other sightseers, it was definitely a sight to behold. To see the expanse of flowers in full Technicolor, really brightens your day and makes you want to run around like Maria from the Sound of Music. Later, I even took Yeti out for a quick “walk” at a grassy area near my apartment. After a brief hop around he quickly settled next to his carrier. Which is his way of saying “I’ve had enough nature for one day, take me back home!” Sigh, he’s definitely not an outdoorsy rabbit. For a peek into my flower frolicking adventures check out my Instagram.
I know I’ve been harping about spring and this seasonal change thing but it’s one of my favorite things about the Seattle area. I get to swap out my sweaters and boots in exchange for loose tees and sandals. Plus, I start to see the changing variety of fruits and vegetables at my local market. Where citrus and root vegetables make way for rhubarb and fiddlehead ferns. Changing your menu with the season isn’t just a posh-farm-to-table restaurant thing. I do it because those ingredients taste their best during that time and it pushes me experiment with different recipes.
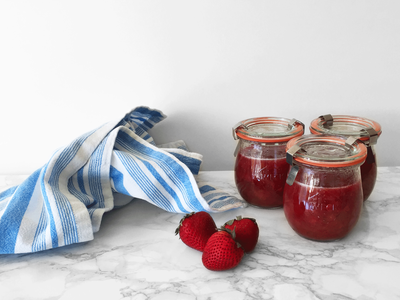
With this in mind, I decided to get a head start on winter and start preserving the flavors of spring through jam making. What better way to celebrate my inaugural jam making venture with a tea party! Complete with fluffy scones and tea. The jam making process itself is stupidly easily. You literally just dump everything into a pot and boil it till it’s thickened and jam-like (duh!). The tricky part is the canning process, as you need to kill any pesky microbes that can ruin your jam. This is super important if you plan on keeping and storing the jam for the long term. Otherwise you’re going to have to quickly consume it within a week. Nothing is too labor intensive which is great as I want to spend most of my time outdoors than slaving away over a stove!
Notes:
- For canning instructions, Food52 has a great reference article. I have Weck jars with rubber seals, so the canning process was slightly different for me.
- If you want a smoother jam texture you can use a hand or stick blender. I myself like that fruity tidbits look!
- Similar to biscuits you can cut the butter into the dough by hand or with tools. I however find grating frozen butter and mixing it into the dough has the same effect. This is an amazing kitchen-hack!
- For the scones, start by adding the minimum of a ½ cup of milk. If your dough is too dry, add a Tbsp of milk at a time.
Rhubarb & Strawberry Jam
From Saveur
Makes roughly 1 ½ cups
Ingredients
Instructions
From Saveur
Makes roughly 1 ½ cups
Ingredients
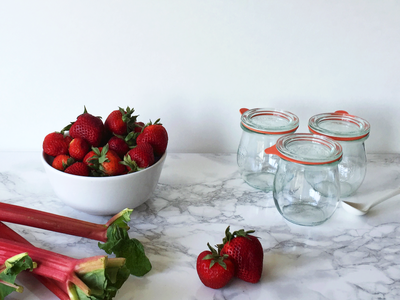
- ¾ lb rhubarb, chopped (2 ½ cup)
- ½ lb strawberry, hulled and chopped (1 cup)
- 1 cup sugar
- 2 tsp lemon juice
Instructions
- Combine the all ingredients in a saucepan over medium heat to dissolve the sugar.
- Bring the mix to a boil and reduce temperature to medium-low.
- Continue to cook, while stirring occasionally till jam has thickened or for 1 hour.
- To check if jam is done, scoop a small spoonful on a chilled plate. If it holds firm it’s ready. Otherwise continue to cook for 10-15 min more.
- Similar to biscuits you can cut the butter into the dough by hand or with tools. I however find grating frozen butter and mixing it into the dough has the same effect. This is an amazing kitchen-hack!
- For the scones, start by adding the minimum of a ½ cup of milk. If your dough is too dry, add a Tbsp of milk at a time.
Tea Scones
Adapted from King Arthur Flour
Makes about 12 scones
Ingredients
Instructions
Adapted from King Arthur Flour
Makes about 12 scones
Ingredients
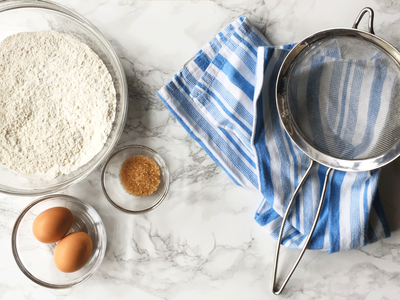
- 2 ¾ cup AP flour
- 1 Tbsp baking powder
- 1/3 cup sugar
- ¾ tsp salt
- ½ cup butter, frozen and grated (1 stick)
- 2 large eggs
- 2 tsp vanilla extract
- ½ - 2/3 cup of milk (depends on dough texture)
- milk for brushing
- sparkling sugar for finishing (optional)
Instructions
- Line a sheet pan with parchment or grease it with butter.
- Sift flour and baking powder together in a bowl.
- Then mix in sugar and salt.
- Add in the grated, frozen butter and stir to combine. It’s ok to still see some chunks!
- In a separate bowl whisk together eggs, vanilla, and milk.
- Next, pour the wet mix into the bowl with the dry ingredients and stir till it comes together.
- If your dough is too dry and crumby, adjust by adding 1 Tbsp of milk at a time.
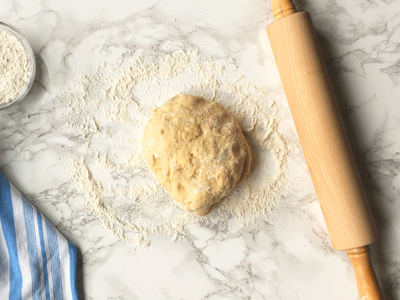
- Dust flour onto a clean surface and turn your dough onto it.
- Using a rolling pin, roll till ¾ inch thick and cut into rounds.
- Once all scones have been placed on a tray, transfer to the fridge to chill for 30 min.
- In the meantime, preheat oven to 425F.
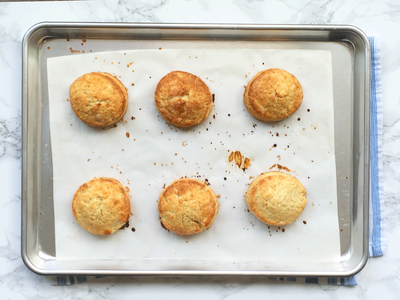
- After dough has chilled, brush the tops with milk and sprinkle large crystal sugar on top.
- Bake on the middle rack for 20 – 25 min. Make sure to rotate the pan midway through for even baking and rise.
- Allow scones to cool and serve warm. They can also be reheated in an oven for later eating.
